Adjusting your time zone
MailMaestro makes it easy to select time zone conversions for meeting requests, ensuring seamless scheduling across different regions. However, if you want to ensure that your emails reflect the correct time zone, you may need to adjust your device or email account settings. This ensures that your email timestamps are accurate and aligned with your desired time zone.
Here’s how you can do it:
Adjusting the Time Zone on Your Device
For Windows:
- Open Settings from the Start menu.
- Go to Time & Language.
- Click on Date & time.
- Under Time zone, select your preferred time zone from the drop-down menu.

For macOS:
- Open System Preferences from the Apple menu.
- Click on Date & Time.
- Go to the Time Zone tab.
- Click the lock icon to make changes and select your preferred time zone from the map or list.

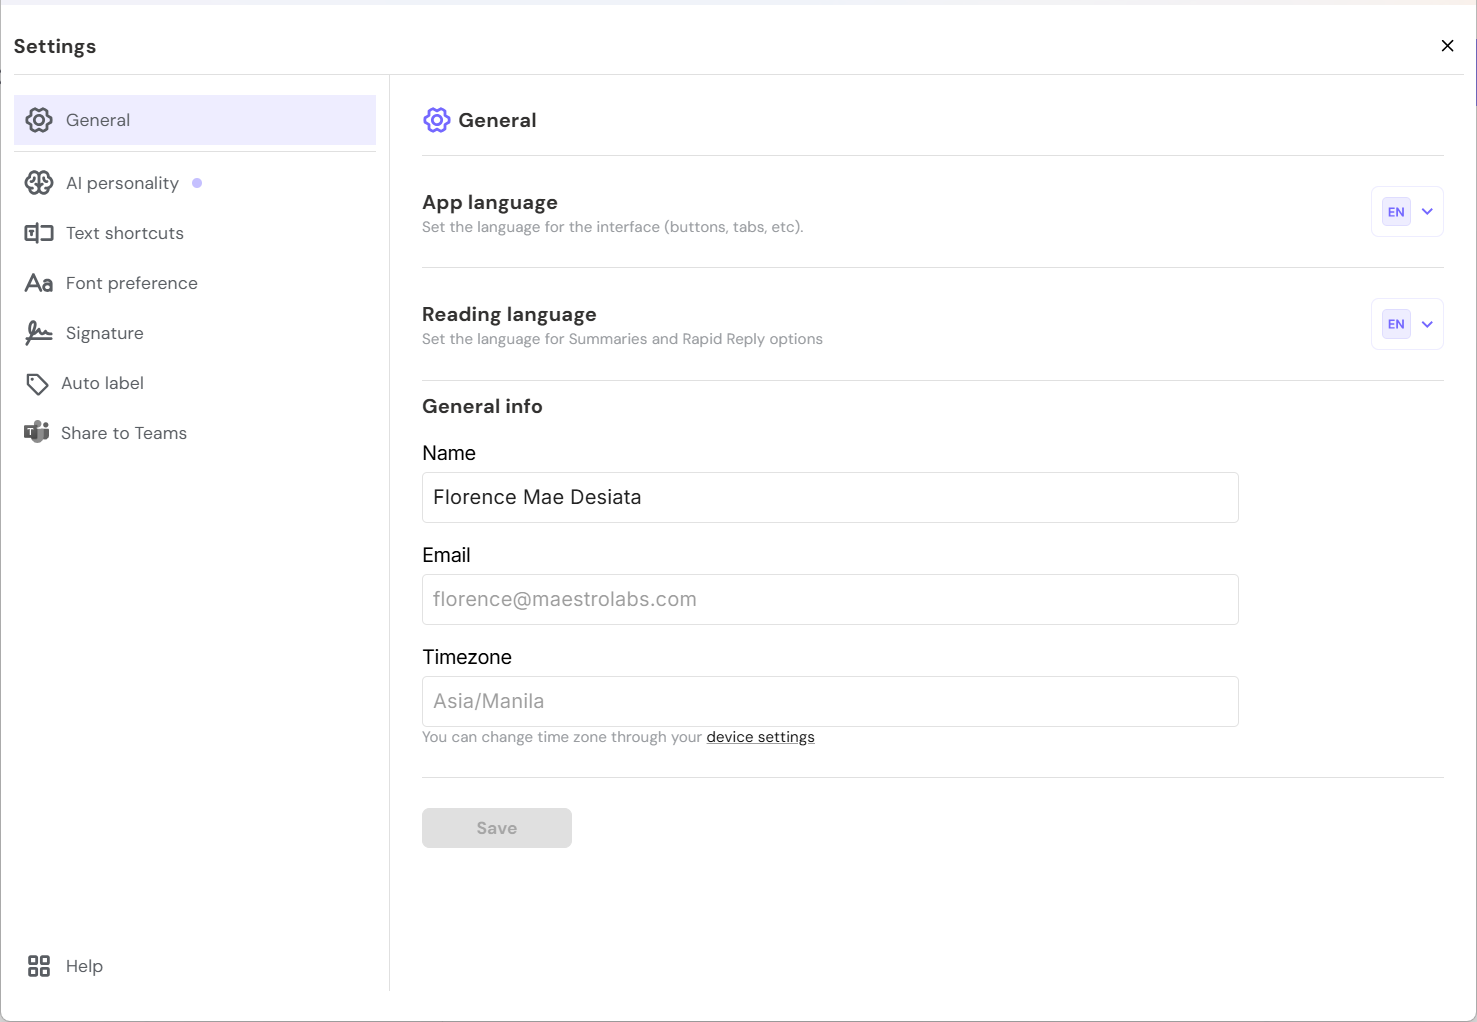
Note: Both Outlook and Gmail have their own time zone settings, but MailMaestro reflects the device's time zone setting, not the email service's settings.
If the changes don't automatically update in MailMaestro, click on the version number of the add-in in the upper right corner and select Clear cache.

By adjusting the time zone settings on your device or email account, you can ensure that the timestamps on your emails sent via MailMaestro reflect the correct time zone.
We’d love to hear from you! Reach out to our team for questions or inquiries at feedback@maestrolabs.com. Together, let's make MailMaestro the ultimate email productivity tool!
Languages we support
TeamsMaestro currently supports a wide range of languages for meeting summaries, transcripts, and AI responses — from English and Spanish to French, German, and many more. Our goal is to make every team’s communication experience seamless and inclusive, no matter the language.
If your preferred language isn’t supported yet, we’d love your feedback! Email us at feedback@maestrolabs.com to request new languages or share examples of what you’d like to see. Your input helps us shape the next updates of TeamsMaestro.
Final thoughts
Meeting summaries are no longer one-size-fits-all. With the Language and Template buttons in TeamsMaestro, you can create tailored, polished notes in seconds. Use these tools to communicate clearly, reduce follow-up work, and keep everyone aligned, wherever they are and however they work.
Languages we support
MailMaestro currently supports a growing range of languages for composing, summarizing, and improving your emails. From English and Spanish to French, German, and beyond — we’re expanding our capabilities to make AI communication accessible for everyone.
If your preferred language isn’t available yet, we’d love to hear from you! Email us at feedback@maestrolabs.com to request new language support or share specific examples. We’re continuously improving with your input.
Frequently Asked Questions


